Every season we try to plant 15-20 different varieties of vegetables or fruit. A lot of the crops are started inside during the dead of winter. We start seeding everything from cabbage, lettuce heads, beets, tomatoes and more. In this post, we will discuss why we seed start, how we seed start, and the advantages / disadvantages of seed starting.
Why do we start seeds?
Our garden is set up to maximize space in each bed, in another post, we will discuss our bed preparations and intense spacing method. Starting seeds for transplant helps ensure that we will be utilizing as much space as possible. Directly sowing seeds can sometimes leave gaps in the rows if seeds do not germinate.
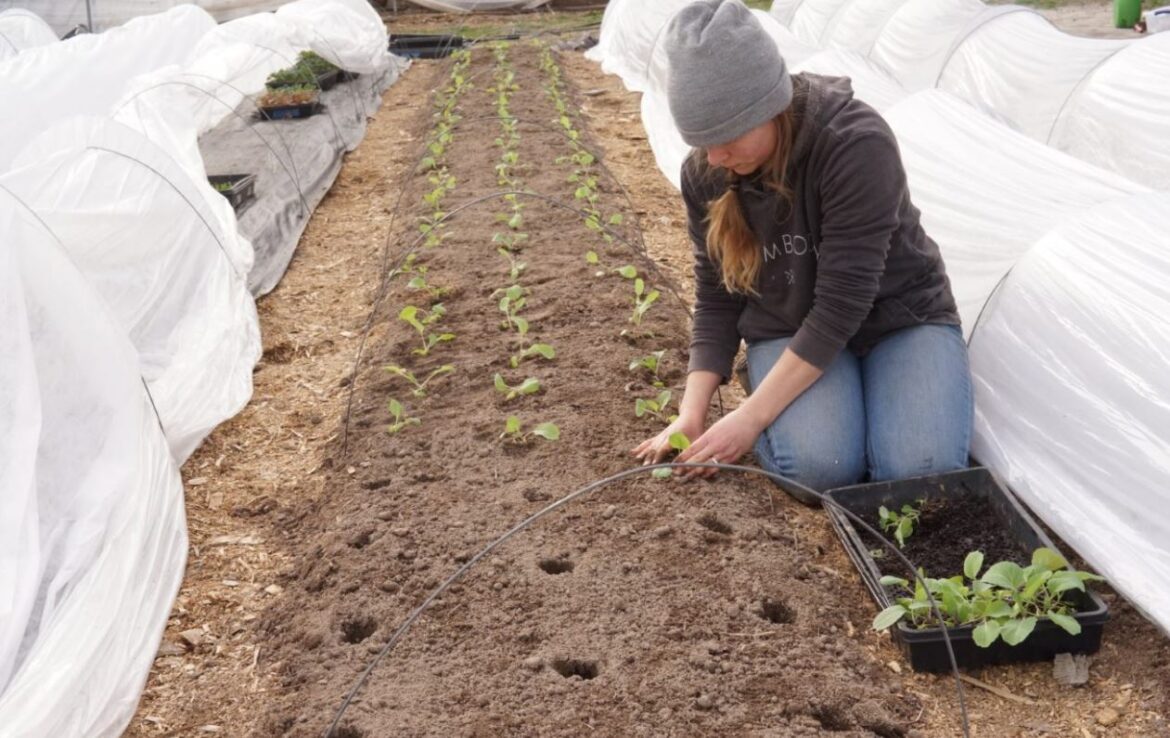
Starting seeds not only increases germination rate, but it also allows us to start seeds weeks earlier than we could if we directly sowed. We are located in eastern Virginia, zone 7b/8a. January and February temperatures are not extremely harsh but still too cold to start seeds in the ground. By starting the seeds indoors under grow lights, we can have healthy well-established plants and transplant them in late February / early March.

How do we start seeds?
We use the soil block method for starting seeds. Over the years, we have tried different plastic cell trays but after experimenting with soil blocks, we decided this was the most efficient method for transplanting thousands of plants every season.
- Get a large container. – We use an old tote to mix our soil block medium. Simply add the potting mix and water and mix it by hand. Our tote is deeper than it needs to be, but it works for us, especially when we use the block maker.
- We use high quality potting mix. – There are a lot of valuable resources and videos out there on soil block making. Eliot Coleman has a recipe for making the medium using peat moss, sand, and other ingredients. When we first decided to go this route with our seed starts, we wanted to try Eliot’s recipe but had trouble finding all the ingredients. The potting mix we were using seemed to work very well with the plastic trays, so we decided to attempt soil blocks using only the potting mix. The results have been working quite well for us.
- Consistency matters. – High quality potting mix and water. That is all we use to make the soil blocks. However, adding the right amount of water is vital. Too little water and your blocks will dry out. Too much water and they will fall apart. The best way to tell for us, is by adding enough water that when you grab a handful of medium and squeeze it, the water will slowly drip.


- Using the appropriate soil blocker. – There are some varied sizes when it comes to soil blocks. Most of our starts are with the 35-standing blocker. This gives us 35, 1-1/8’’ x 1-1/8’’ blocks, the perfect size for smaller crops like lettuce heads or cabbage. The other blocker we use is the handheld 4-blocker. This creates 2’’ x 2’’ blocks, perfect for our tomatoes and peppers.
- Trays that allow us to bottom water. – We use two trays for each soil block unit. Both trays are 10×20’s. The first one has several holes in the bottom. This is the tray we place the soil blocker on to make the blocks. Using the standing soil blocker, we can fit 3 units or 105 soil blocks on one tray. The handheld blocker allows us to squeeze 40 blocks on one tray. The second tray, or bottom tray, is solid. No holes. The soil block tray sits on top of the bottom tray. This allows us to add water to the bottom tray and the soil blocks absorb the water from the bottom.
- The science and art of the soil blocker. – Once your medium is ready and your trays are set, you are ready to make the blocks. When using the standing blocker, we press the blocker into the tote and make sure all the blocks are packed with medium. Carefully, we move the blocker to the tray and simply squeeze the handle to release the blocks while lifting the blocker straight up. This step takes practice but once you get it down, it is very efficient.
- Cover the seeds with vermiculite. – After the seeds are dropped into the blocks, we cover them with vermiculite. Vermiculite absorbs and retains water to help germination. It has no added nutrients but is extremely helpful in covering the seeds and keeping the soil blocks moist.

- Make sure to water and keep the blocks moist. – We place the trays on our shelves ready for grow-lights. We just make sure to bottom water just enough to keep the blocks moist. This is important because if the blocks dry out, they will fall apart and will be impossible to form back.
That is our process for soil blocking and seed starting. We can seed about 4 trays or 420 starts in about 30 minutes.


